If there is one side dish that defines authentic Greek comfort food, it is the golden, crispy-creamy magic of Patates Lemonates or Greek Lemon Potatoes. Saturated with bright lemon, aromatic oregano, and rich olive oil, these potatoes are the mandatory companion to any great souvlaki.
The reason they are so special, and often so difficult to replicate at home, is their specific, signature texture: a crispy, tangy exterior that gives way to an unbelievably soft, creamy interior.
We are here to solve that culinary mystery. The difference between an ordinary potato and the authentic taverna-style Patates Lemonates lies in one simple, brilliant technique: braise-roasting.
This is your step-by-step guide to mastering that technique, revealing the secrets that guarantee you make the best Greek Lemon Potatoes at home, every single time.
What Exactly Are Greek Lemon Potatoes?

Greek Lemon Potatoes, known as Patates Lemonates in Greek cuisine, are a foundational roasted side dish characterized by a unique preparation method and distinct flavor profile.
The dish is composed of standard potato wedges roasted in a shallow pan with Extra Virgin Olive Oil, dried Greek oregano, and a mixture of fresh lemon juice and savory broth or stock.
The defining factor of Patates Lemonates is its texture, achieved through a process called braise-roasting:
- Braising: The potatoes cook partially submerged in the liquid, ensuring the interior becomes thoroughly tender and absorbs the lemon and savory notes.
- Roasting: As the liquid evaporates, the remaining oil and caramelized sugars crisp the exterior, resulting in a dual texture that is creamy inside and golden-crisp outside.
This method ensures the potatoes are not only fully cooked but also intensely flavored, making them a mandatory accompaniment to most grilled meats and oven roasts in the traditional Greek diet.
The Essential Ingredients: Quality Over Quantity
The beauty of Patates Lemonates lies in the fact that its flavor is built from just a handful of high-quality components. When selecting your ingredients, remember that simplicity requires the best quality.
The Right Potato
The potato you choose dictates the final texture of the dish:
- Best for Creaminess: Yukon Gold potato, or any medium-starch gold potato, is highly recommended. Its inherent buttery quality and ability to absorb the liquid without crumbling guarantee that soft, creamy center.
- Best for Crispness: Russet or Idaho potatoes, which are starchier, will give you an even crispier outer crust. A caution: These require careful monitoring, as they can fall apart if overcooked during the braising stage.
Crucial Prep Tip: Regardless of your choice, you must cut the potatoes into uniform, thick wedges, about 1 to 1.5 inches thick. Uneven pieces will lead to uneven cooking: some soft, some hard.
The Liquid Trio
This combination is the lifeblood of the dish, forming the savory sauce that infuses and crisps the potatoes:
- The Broth: Do not use plain water! Use Chicken or Vegetable Broth to add an instant layer of savory depth.
- Pro Tip for Umami: For a truly intense, restaurant-quality flavor, many Greek kitchens rely on a secret shortcut: a small amount of chicken bouillon or concentrate dissolved in the liquid. This adds a profound savory umami that plain broth often lacks.
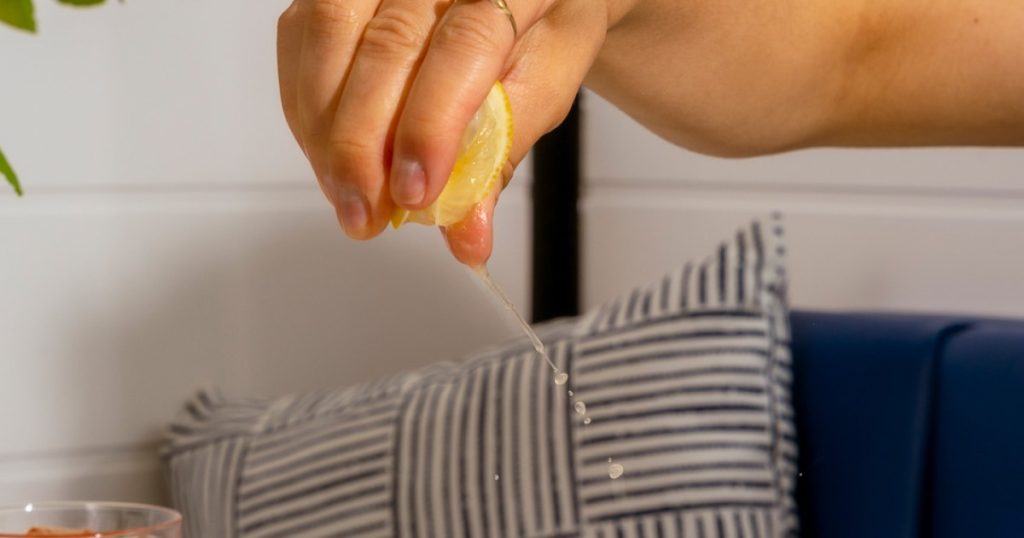
- Fresh Lemon Juice: The star of the show! It must be freshly squeezed. Bottled lemon juice will give you a flat flavor that detracts from the dish’s bright, signature tang.
- Olive Oil: Use a generous amount of quality Extra Virgin Olive Oil. This is the fat that remains after the liquid evaporates, ensuring the potatoes get that final, essential crisp and rich Mediterranean flavor.
The Aromatics
- Oregano: A generous quantity of dried Greek oregano is mandatory. Crush the oregano between your palms before sprinkling it over the potatoes to “wake up” the essential oils and intensify the aroma.
- Garlic: Use garlic powder or simply lightly crushed whole cloves instead of minced fresh garlic. Minced garlic will burn during the long, high-heat roasting process, resulting in a bitter flavor.
Step-by-Step Method for Perfection
Mastering the braise-roast technique is all about timing and liquid management. Follow these five simple steps for guaranteed success:
- Preparation and Initial Seasoning: Place your cut potato wedges directly into a large, shallow roasting pan. Toss the potatoes with a generous amount of Extra Virgin Olive Oil and all your dried aromatics: oregano, salt, and pepper. The goal here is to coat the potatoes thoroughly before the liquid is added.
- The Liquid Bath Ratio: Now, pour the broth and fresh lemon juice mixture directly over the potatoes. This is the most crucial visual step: the liquid should reach approximately halfway up the side of the potato wedges. If you submerge them completely, they will boil instead of braise.
- Bake Covered (Optional Tenderizing): To ensure a truly creamy, tender interior, especially for beginners, you can cover the pan tightly with aluminum foil for the first 25–30 minutes. This traps the steam and moisture, guaranteeing that the initial braising and tenderizing stage is effective.
- The Uncover and Crisp: Remove the foil or simply continue roasting if you skipped the cover. Increase the oven temperature slightly to 400°F to 425°F for the final stage. Continue roasting until the liquid has almost completely evaporated and the exposed potato edges have turned a deep, golden color. The cooking time varies, but generally, this will take another 30–45 minutes.
- The Final Toss and Glaze: Once the liquid is reduced to a thick, syrupy glaze at the bottom of the pan, remove the potatoes from the oven. Immediately toss the wedges gently in that remaining lemon-broth glaze. This coats them with the intense, savory-tangy reduction and locks in the crispy texture.
Serve immediately while they are still sizzling!
Where to Eat the Best Greek Lemon Potatoes

Mastering the braise-roast technique at home is rewarding, but sometimes, you just want to experience the authentic perfection of Patates Lemonates without turning on your oven.
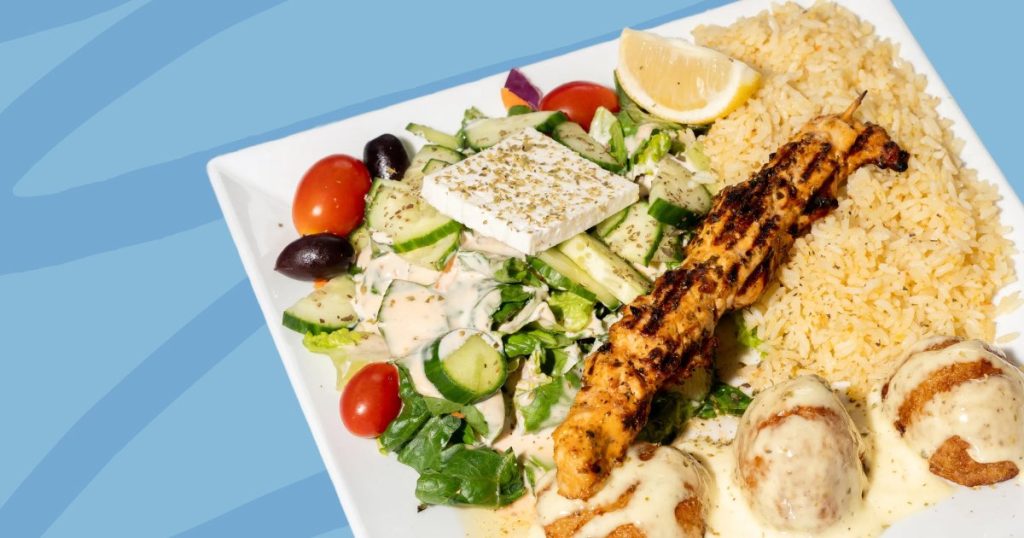
If you are searching for those perfectly crisp, creamy, and intensely flavorful Greek Lemon Potatoes in Canada, the kind that truly live up to the name, you need to visit Souvlaki Authentique.
They understand that the side dish is just as crucial as the main course. By upholding the quality standards of traditional Greek cooking, they ensure their lemon potatoes are the ideal companion to their famous souvlaki, gyro, and roast chicken platters.
Conclusion
You now have the complete blueprint for making the best Greek Lemon Potatoes. No more dry wedges or pale, flavorless spuds! By utilizing the simple technique of braise-roasting, you’ve ensured that the potatoes fully absorb the lemon and oregano while developing that crucial dual texture, creamy inside, crispy outside.
If you want to experience the authentic taste of the Greek Lemon Potatoes that inspired this guide, be sure to visit Souvlaki Authentique, the gold standard for this incredible side.
FAQ
1. Why did my Greek Lemon Potatoes turn out soggy instead of crispy?
You likely used too much liquid or overcrowded the pan. The liquid should only reach halfway up the potato wedges.
2. Can I use bottled lemon juice for this recipe?
You can, but it’s not recommended. Freshly squeezed lemon juice is essential for the signature bright, tangy flavor.
3. Why do I need to use broth instead of just water in the liquid bath?
Broth (chicken or vegetable) provides the necessary rich, savory depth and umami flavor base that plain water cannot.
4. What is the ideal oven temperature for the final crisping stage?
Finish the potatoes at a high temperature, between 400°F and 425°F, to encourage quick caramelization.
5. Can I prepare the potatoes ahead of time?
Yes, cut the wedges and store them submerged in cold water in the fridge. Be sure to pat them completely dry before starting the recipe.


