You’re making homemade Gyros or Souvlaki, the meat is perfect, and the tzatziki is ready. But if you reach for that dry, store-bought flatbread with the big, empty pocket, you’ve already ruined it. That’s the Middle Eastern style, and it’s simply all wrong for wrapping.
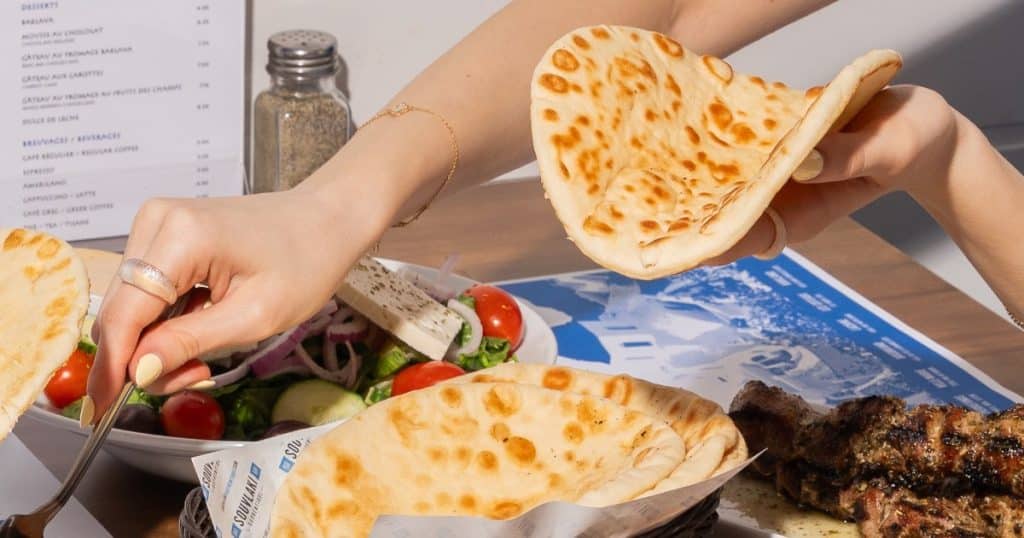
The authentic Greek pita is completely different. It’s soft, wonderfully pliable, and designed to be pocketless so it can soak up all the savory meat juices without tearing. Without it, your homemade meal falls flat.
Ready to ditch the dry crumbs? We’ll show you the simple ingredients and the high-heat skillet technique that yields a perfect, chewy, and pliable Greek pita every time.
Simple Ingredients for Superior Taste

The beauty of Greek pita lies in the simplicity of its core ingredients. You need pantry staples, a little olive oil, and patience. Plan for a quick 20 minutes of prep time and about 3-5 minutes of cook time per pita, but remember the dough needs a long first rise of 1.5 to 2 hours, plus a critical second rest of 15 minutes. This recipe yields about 8 pitas, approximately 6-7 inches each.
Ingredients List
- 3 cups of All-Purpose Flour: While all-purpose works, we highly recommend using bread flour if you can. The higher protein content develops more gluten, giving you that superior, elastic chew you want for a great wrap.
- 1 cup Lukewarm Water: Not hot! If it’s too hot, it kills the yeast. Lukewarm is perfect for activation.
- 2 tsp Active Dry Yeast (or 2 1/4 tsp Instant Yeast)
- 1 tsp Granulated Sugar: Just enough to give the yeast a quick snack to start foaming.
- 1 tsp Fine Sea Salt
- 3 Tbsp Extra-Virgin Olive Oil: This is mandatory for flavor and moisture inside the dough. Use a good-quality Greek olive oil if you have it!
- Extra Oil and Oregano (for brushing): You’ll need more olive oil for cooking and brushing the pitas once they’re off the heat.
Optional Fluffiness Booster: Greek Yogurt
For an incredibly soft, tender crumb and a slight tang, many authentic Greek home bakers add dairy.
- Add 1/4 cup of Plain Greek Yogurt (room temperature) to the wet ingredients. The fat and acidity tenderize the dough and give it a beautifully plush interior. If you use this, you may need to reduce the water slightly or add a little extra flour during kneading until the dough is elastic but still tacky.
The Dough: Patience is the Greek Secret
Making the pita dough requires very little active effort, but it demands patience. The long rise times are what build the tender structure needed for a perfect pita wrap.
1. Activating the Yeast
In a small bowl, combine your lukewarm water and sugar, then sprinkle the yeast over the top. Give it a gentle stir and let it sit for 5 to 10 minutes. This process, called “blooming,” activates the yeast. You should see a foamy layer start to form on the surface. If you don’t, your water might have been too cold or too hot, and you’ll need to start this step over.
2. Mixing and Kneading
In a large mixing bowl, combine the flour and salt. If you are using the optional Greek yogurt, mix it into the foamy yeast mixture now. Create a well in the center of the flour, add the olive oil and the yeast mixture, and stir until a shaggy dough forms.
Turn the dough out onto a lightly floured surface. Knead until the dough is smooth and elastic, this should take about 5 to 8 minutes by hand, or 4 to 6 minutes in a stand mixer with a dough hook.
3. The Bulk Rise
Place the dough into a lightly oiled bowl, turning it once to coat. Cover the bowl tightly with plastic wrap or a clean towel. Let the dough rest in a warm, draft-free spot until it has doubled in size. This typically takes 1 to 2 hours, depending on the warmth of your kitchen.
4. Divide, Shape, and the Crucial Relaxation
Once the dough has doubled, gently punch it down to release the air. Divide the dough into 8 equal pieces. Roll each piece into a smooth, tight ball.
Now, here is the secret step many beginners skip: The Second Rest. Cover the dough balls loosely and let them rest again for 15 to 20 minutes. This short rest period is crucial because it allows the gluten structure to fully relax. If you try to roll out the dough immediately, the gluten will be tense and cause the dough to snap back into a small circle, making it nearly impossible to roll out to the correct size and thickness.
The Cooking Technique: High-Heat Skillet Cooking
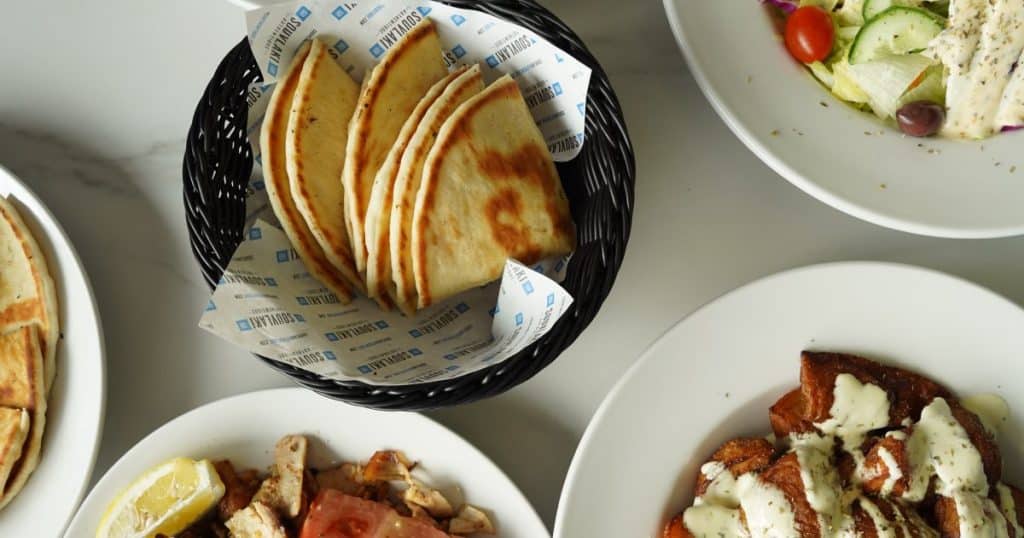
The final and most crucial step is to abandon your oven and embrace the scorching heat of your stovetop. This fast, intense cooking method is what results in the tender, foldable, pocket-less pita we’re looking for.
1. Prepare to Cook
Start by rolling out the rested dough balls. On a lightly floured surface, roll each ball into a uniform, round disc about ¼ to ⅜ inch thick. This thickness is essential: avoid rolling it too thin, as that is the common mistake that causes it to dry out and aggressively balloon into a pocket.
Your cooking vessel should be a heavy cast-iron skillet or a flat griddle, as these tools retain heat beautifully and evenly. Place it over medium-high heat until it is smoking hot. Cook the pita dry, or give the pan a very light wipe of olive oil; do not pour oil in.
2. The Quick Cook and The Flip
Place the first rolled pita into the hot, dry pan.
- Side 1 (45–60 seconds): Cook for about 45 to 60 seconds. The pita should immediately begin to form small bubbles on the surface.
- The Flip & Press: Flip the pita over. As the pita cooks on the second side, steam will build up inside. If you see it start to aggressively puff up into a hollow balloon, immediately gently press down on the puff with a spatula. This physical docking action redistributes the steam, ensuring a soft, flat interior rather than a hollow, dry pocket.
- Second Side (45–60 seconds): Continue to cook until the surface shows beautiful golden-brown spots.
The total cooking time per pita should be no more than 3 minutes. Work quickly, but remember to maintain that high heat between batches.
Finishing & Serving: The Signature Brush
As soon as a pita comes off the hot skillet, it needs a final flourish to achieve its full potential.
Immediately transfer the hot pita to a plate. This is the moment to be generous: brush both sides liberally with extra-virgin olive oil . This adds incredible flavor, shine, and helps preserve that softness you worked so hard for.
Pro-Tip: Elevate the flavor by mixing a small bowl of olive oil with a generous pinch of dried Greek oregano and a little sea salt before brushing.
Stacking for Softness
As you cook the remaining pitas, stack the finished ones on top of one another and immediately cover them with a clean kitchen towel. The steam trapped between the hot layers keeps the pitas warm, soft, and moist, ensuring they are perfectly pliable and ready to wrap.
Skip the Skillet: Head to Souvlaki Authentique
Let’s be honest: not every day is a baking day. If you crave that incredible, fresh pita without the 3-hour commitment, there’s a place that does the heavy lifting for you.
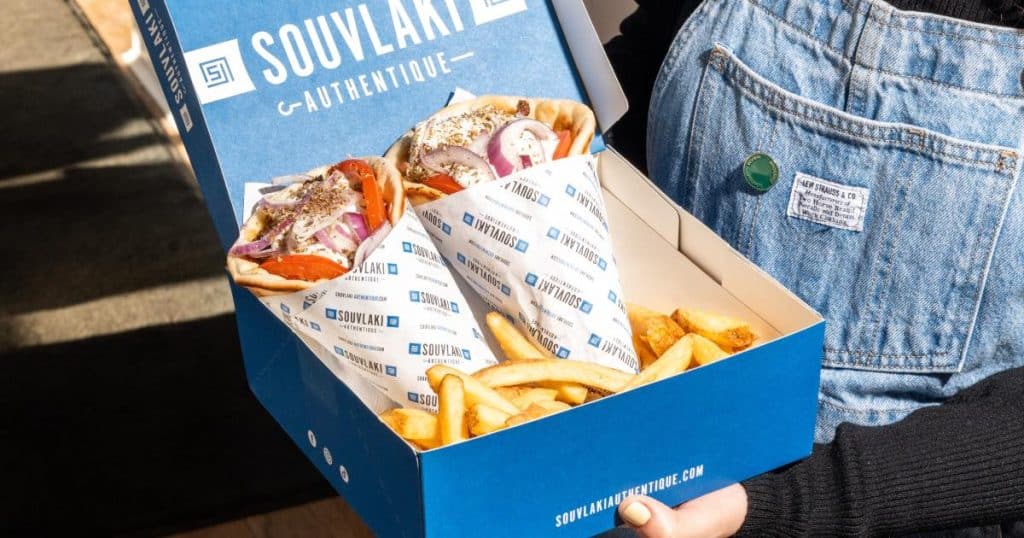
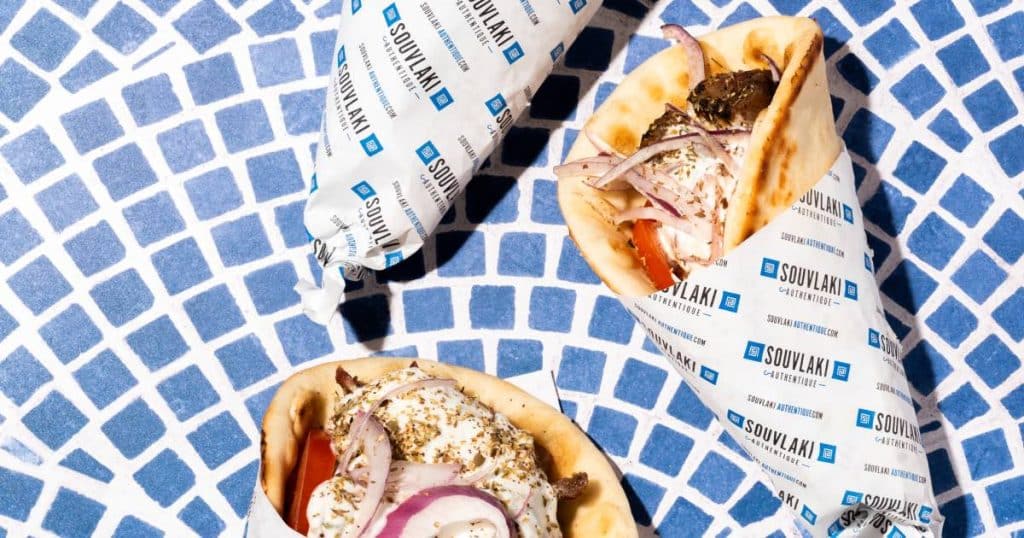
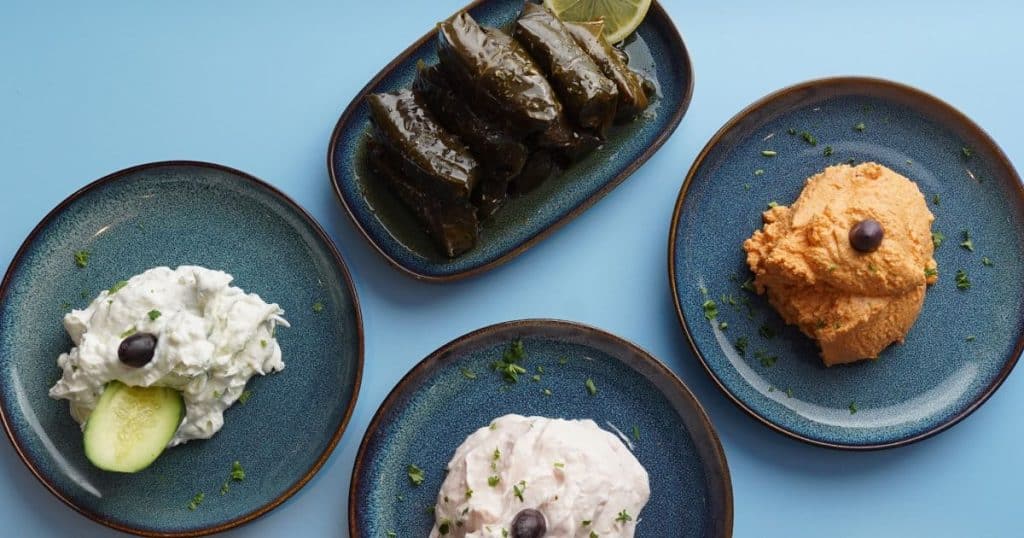
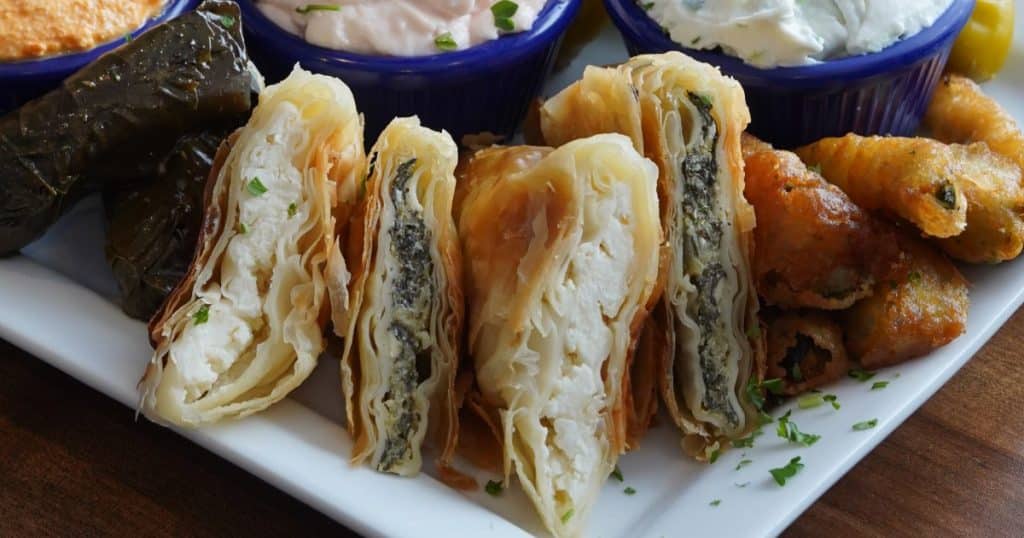
Souvlaki Authentique is passionately dedicated to the fresh, quality ingredients that define the Mediterranean diet. When you visit, you’re guaranteed the freshest, most pliable pita, perfectly paired with savory gyro, smoky souvlaki, and rich, house-made dips like tzatziki and tirokafteri.
Conclusion
You’ve mastered the ultimate secret: authentic Greek pita is pocketless, requiring high heat and a little patience. Whether you decide to spend the afternoon kneading dough or you just crave that perfectly brushed, warm bread now, never settle for a dry, store-bought imitation again.
The true Greek difference is in the details, and if you want the ultimate pita experience without the wait, head straight to Souvlaki Authentique. Find your nearest location and taste the real deal today!
FAQ
1. What is the main difference between authentic Greek pita and standard store-bought pita?
Authentic Greek pita is pocketless and pliable, designed specifically for wrapping gyros and souvlaki. Store-bought versions are usually hollow and thin, meant for stuffing or dipping.
2. Why is it important that the Greek pita be “pocketless”?
The lack of a pocket ensures the bread is dense and soft, making it resistant to tearing and less likely to get soggy when loaded with moist fillings like meat, sauces, and fresh vegetables.
3. What is the key technique for making this pita at home?
The secret is the high-heat skillet (cast iron is ideal). If the dough starts to puff up into a pocket while cooking, gently press down on it with a spatula to keep it flat and soft.
4. What is the signature finishing step after the pita is cooked?
It must be immediately brushed on both sides with extra virgin olive oil (often mixed with oregano and salt) while it’s still hot to lock in moisture and flavor.
5. If I want the authentic pita experience without baking, where should I go?
You can find the freshest, perfectly brushed, and pliable authentic Greek pita, ready for wrapping, at Souvlaki Authentique.


